Springtime is precious to us here in the Northeast Kingdom. It starts slowly at first – barely even noticeable… but then *BAM!* The landscape goes from the browns & grays of the Gale’s homestead to Munchkinland, with bright greens and dots of color everywhere! The weather starts to warm, school starts to wind down and the celebrations of Spring are in full planning mode. Easter, Mother’s Day, Proms and Graduations are coming. Weddings and baby showers will follow as well. It means so much to celebrate all the moments with family and friends.
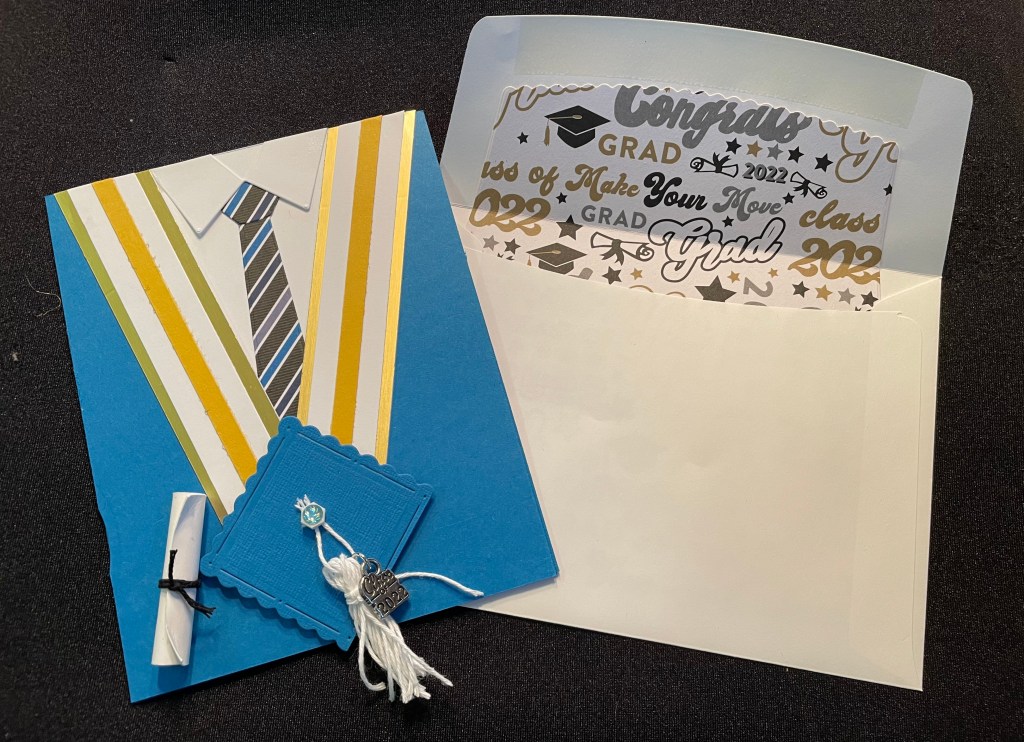
Here on The Hill, I have been cranking out cards for soon-to-be graduates!
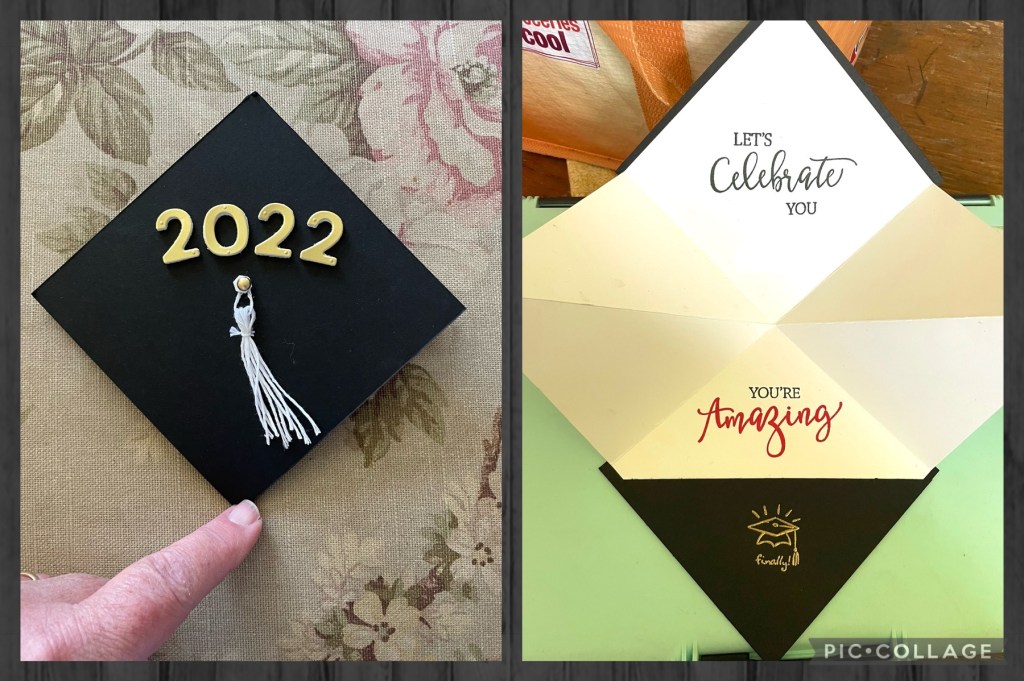
I was happy to find a video by Kathy Alt at “Kathy’s Stamping World”. It’s a quick and easy card design that can be adapted to any school colors. I used the “Create with Friends” stamp set for simple sentiments. I also chose to ink the larger words in the recipient’s school colors. The little mortar board stamp is an oldie (SU 2004 “Framed Greetings”) a friend had passed on to me from her stash.
- mortar board “card cover”: two pieces of 4.5″x 4.5″ solid cardstock. I used black for this card, and a school color on a second card.
- card interior: one piece of 8″x 8″ white or vanilla cardstock. If Recipient’s school has a lighter color like yellow, try that!
- optional gift pocket: cut a 4″x 4″ square of cardstock that coordinates with your mortar board color, then chop it on the diagonal. You will only be using one of these triangles.
- optional Year numbers: The current, Playful Alphabet die set also has numbers as well as punctuation you can cut out using a Stampin’ Cut and Emboss Machine. I cut the graduation year numbers from gold cardstock with a square of foam adhesive sheet underneath. Note: You could adhere with glue or even plain adhesive sheets. I felt if the numbers were raised, there would be less chance of the “button” and tassel getting knocked off the card.
- ink: black and/or school colors. I also used Versamark and gold embossing powder to heat-emboss the sentiment on the gift pocket.
- stamps: I used the now-retired “Create With Friends” set. Many SU current stamp sets have “Congratulations” or “Just For You” sentiments.
- adhesives: Stampin’ Seal and Tearin’ Tape, one MINI dimensional, and glue/adhesive sheet/foam adhesive sheet (mentioned above).
- embellishments: white or metallic baker’s twine for a tassel, gold or black raised dot or button for the cap. Note: Glue the end-strings of your tassel under the raised dot/button and then put a dot of glue under the head of the tassel where it hangs, to help adhere this feature on.
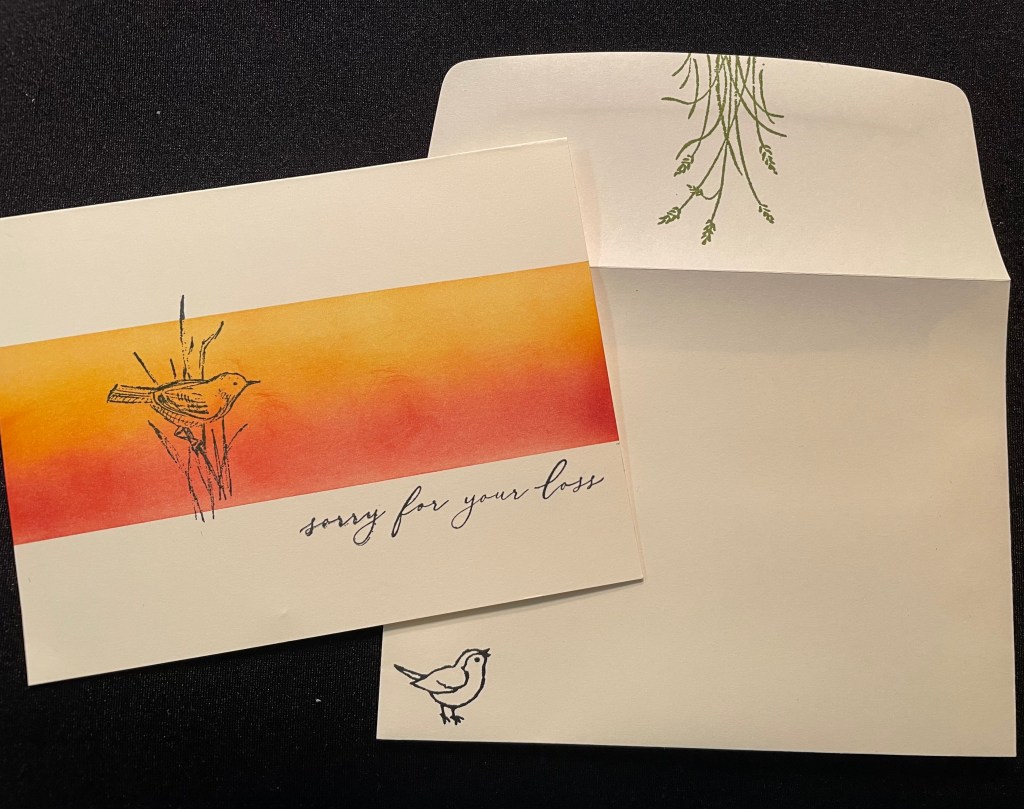
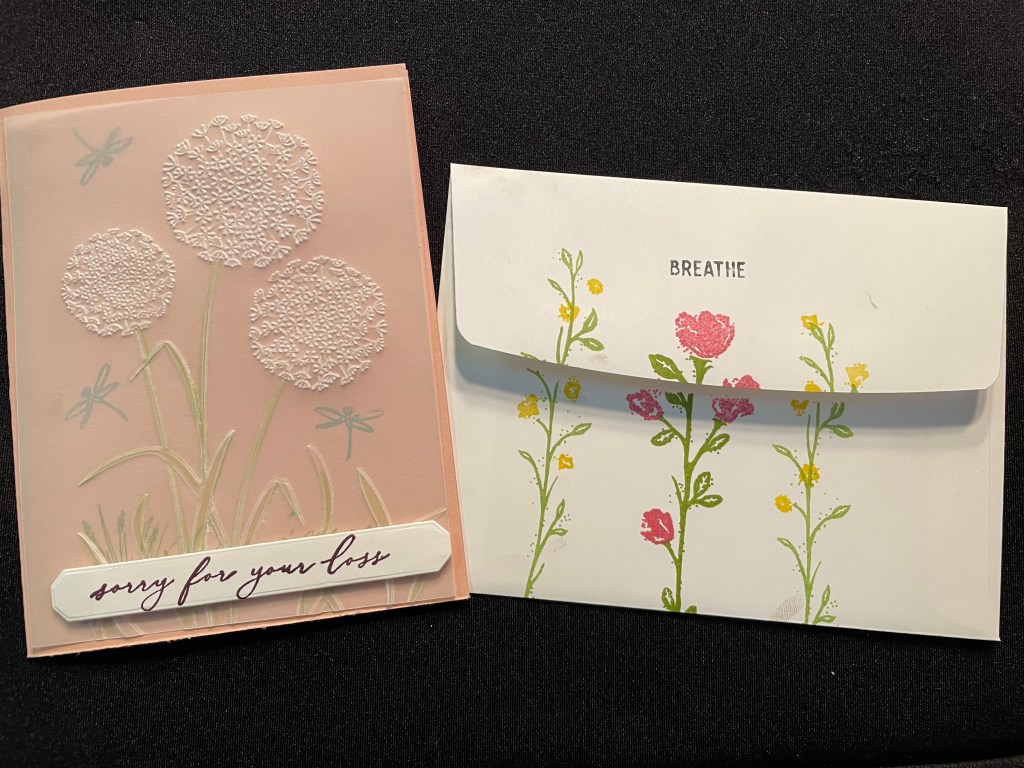
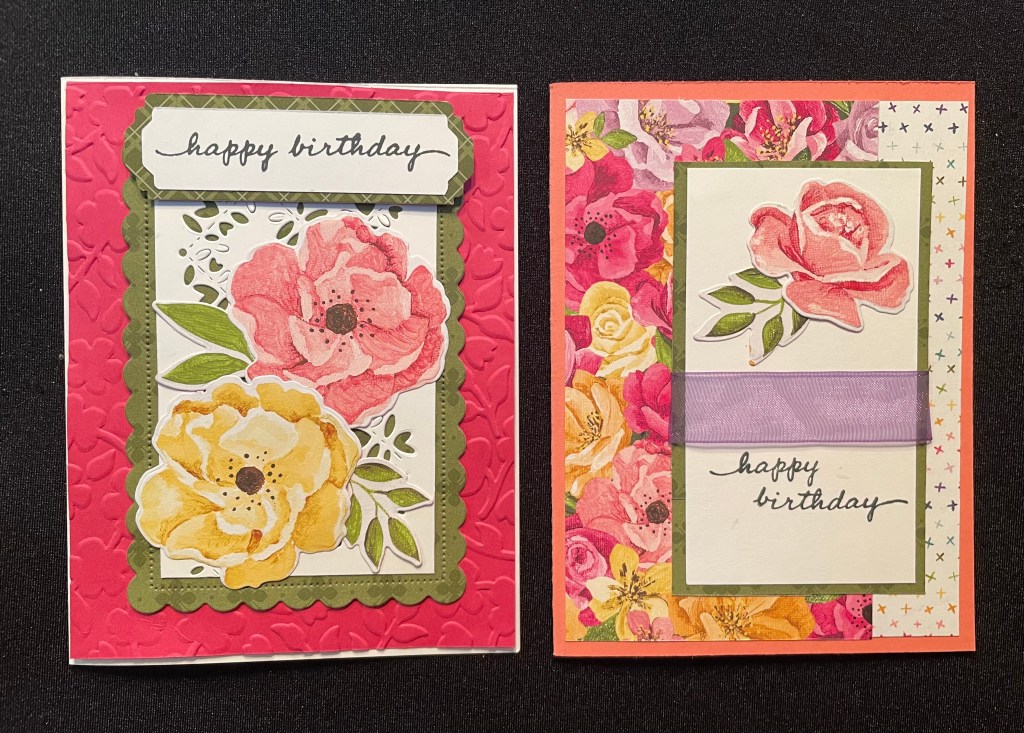
Over this last week, I was asked and honored to create specific cards to mark more of life’s celebrations (see below). I tailored each card to the recipient. I used a mix of new and old supplies from my stash, and, techniques I learned by watching tutorial videos made by other demonstrators. Card-making is one of my hobbies but it’s also a form of therapy once you get deep into crafting mode. Colors! Patterns! This stamp! That stamp! Once you’ve been shown how to make a card or two, you’ll be amazed that it’s easier than it looks. Whether as a hobby or a business, you can make cards like these too!